
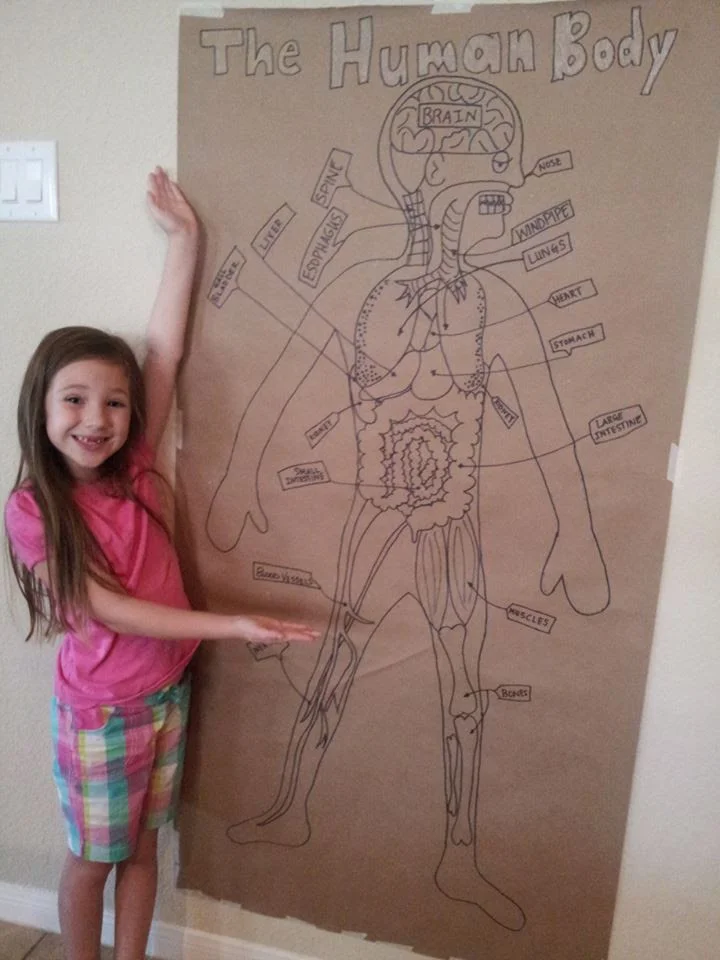
Welcome back to another installment of "Hands on Semester of Science - The Human Body." In part one, I showed you a simple human body chart that kids can color in as they learn about different organs. Today we are going to start getting into the experiments {insert mad scientist laugh}. It might be cool for the kids (and you) to invest in some cheap science tools such as a lab coat, gloves and goggles if you plan to do several experiments. Hey, that stuff is considered hands on in my book.
Let's get started with Dem Bones.
If I need an idea I always start by looking on Pinterest. When I saw the following experiment I had my doubts. It turned out so cool and I ended up keeping the hand until my son took a bite out of one of the fingers and it attracted ants. Who knew ants liked flour? Who knew L wondered what a fake hand would taste like?

Here is what you do:
- Step One: Get a glove from the dentist in your ward. That's a joke people. Not every single ward has a dentist, just most ;-). You can get a glove from fast food places or beauty salons too. If you must buy them, you can get them at Walmart and I'm sure there are lots of fun and educational things you can do with them. I may even do a post some day called 'Ways to teach with Latex gloves'. And yes, try to get the latex type since it has more of a flesh feel to it than the plastic see through ones.
- Step Two: Get five large flat Popsicle sticks. You can get these from the doctors office for free if you ask nicely. I'm sure there are other places you can get them for free but again, these are always good to have on hand for future use and are not very expensive. Ideas may one day appear in a post labeled 'Ways to teach with Popsicle sticks'. Getting back on track... place the sticks inside of the gloves where your fingers would go. Last step: Fill your glove with flour. It doesn't take much but you do want it packed well. Then tie the glove at the bottom. Your done. My 6 year old was able to do this almost completely on her own. I held the glove open for her to dump in the flour (do this part over the kitchen sink for easy clean up). When it's complete it really does feel similar to a human hand! Seriously! Here is the Pinterest link that I followed for my Bones class experiment.
Side note: I love most Steve Jenkins books. The book with the big skull and the red background is a great one of his! Try your library first but I personally think his books are worth investing in. While libraries are a fabulous resource (most home schoolers visit on a weekly basis), may I suggest investing in a few well rounded, kid friendly books on this topic. I say kid friendly but I really mean books that you can understand, too. If it's over your head, it's guaranteed to be over your child's. I went to a used book store and browsed their human body section to find mine. I also borrowed from the library first to make sure the book was worth buying.
Another favorite experiment of ours was making our own blood.
This idea also came from Pinterest:
I save my glass jars for no good reason but every once in a while I'm glad I did. This was one of those rare times.
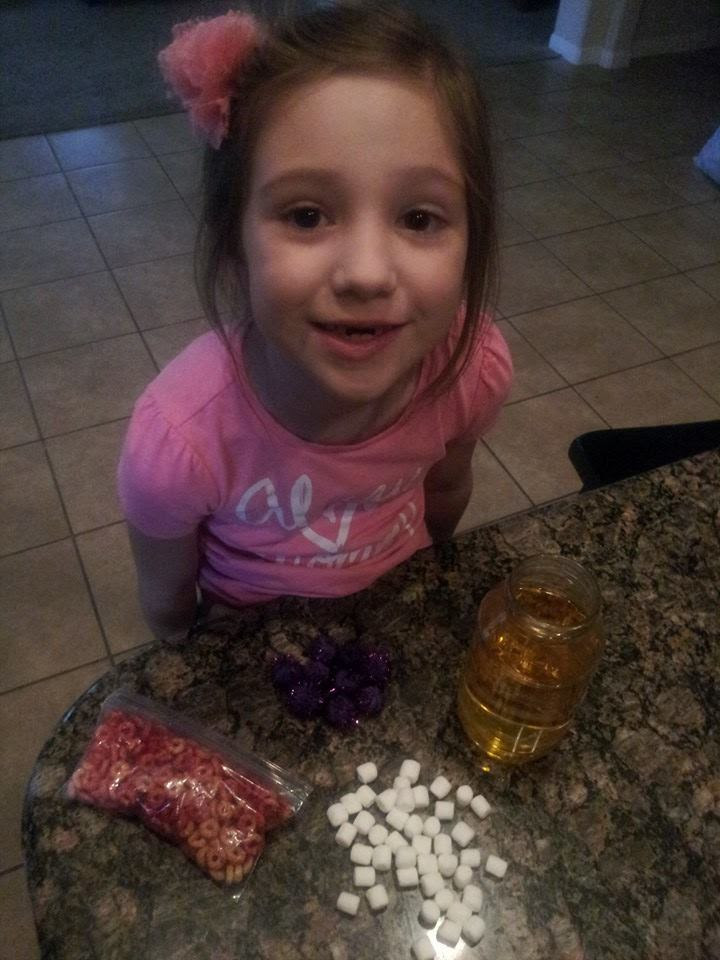

Step 1: You will need a glass or plastic jar filled 1/2 to 3/4 full with water plus yellow food coloring. This represents the plasma. Next get a couple of hands full of mini marshmallows- one for project, one for eating. These will be your white blood cells. I used purple pom poms as my platelets. Last I mixed Cheerios with some red food color in a small Ziploc bag for my red blood cells.
Add all your ingredients one at a time while talking about why each one is important-- well, you know the drill. Teach!
In the end your blood turns red from the red blood cells. Since blood really does look red when you bleed and not like yellow plasma this made more sense to J.


Last one I'll show you today
is on the backbone.
You may notice in my picture that J's back bone is lacking a few gummy life savers. I bet some of you guessed it: L struck again! Maybe I should feed that kid more. I did find both a somewhat edible versions of this experiment which I went with HERE or HERE is another option to use for the backbone with a pool noodle:

Here is how you make this back bone:
Gather your whopping three materials. By now you are realizing that I usually go pretty cheap with my hands on learning and you love me a little more. You will need a piece of rope (spinal cord), some cheerios or maybe wagon wheels (bones) and a large pack of gummy life savers (disk). The non food version is probably more visually accurate but I made this in the fall so there were no pool noodles to be found at the Dollar Tree. You see above in the photo J is putting the lifesavers and the Cheerios on alternately. Make sure you have counted enough bones (33 for kids and 24 for adults). Kids will remember how many backbones we have if they are counting them as they are added.
I previously told you that my daughter likes to color and does really well at listening while she does it. I invested in the Dover Human Body coloring book (pictured at the top of this post) which is very educational and filled with a lot of information and details. Details take a long time to color which equals a long time for me to teach about the subject which means my child will have a better chance of learning something. That's just a theory and only true when the child is in the right mood ie: the wind is blowing to the east, it's high tides and.... just kidding. I don't think we were able to get the full use out of this coloring book but maybe you would. Here is the link so you can look into it. If you're not positive that you would use it, do a Google search for whatever organ you are learning about and print a color page instead.
That's it for this week, folks. Stay tuned for Part 3 when our "Semester of Science - The Human Body" concludes with experiments about the brain, lungs, intestine and nervous system.
What would you like some "hands on" ideas about? Drop me a line in the comment section below or email me bethany@lds-nha.org.